The Cupping Therapy Process: Step-by-Step Guide to Your First Session
Share
If you're curious about trying cupping therapy but aren't sure what to expect, you're not alone. The idea of heated cups creating suction on your skin might seem intimidating at first—but the cupping therapy process is actually gentle, relaxing, and incredibly beneficial. This step-by-step guide will walk you through exactly what happens during a cupping session—from preparation to aftercare—so you can walk into your first appointment with total confidence. Whether you're seeking pain relief, stress reduction, or better circulation, understanding the process is the first step toward healing.
What Is Cupping Therapy?
Cupping therapy is a traditional healing practice that uses suction to increase blood flow, release muscle tension, and promote healing. This is done by placing specialized cups on the skin—typically along the back, shoulders, or other tense areas.
There are several types of cupping, but the most common include:
- Dry cupping: Creates suction without cutting the skin.
- Wet cupping: Involves a small incision after suction to remove toxins.
- Fire cupping: Uses heat to create the vacuum inside the cup.
In this article, we’ll focus on the typical dry cupping therapy process used in most wellness clinics.
Step-by-Step: The Cupping Therapy Process
Let’s break down each stage of the experience:
1. Initial Consultation and Assessment
Before any cups are applied, your practitioner will begin by discussing your:
- Health history and conditions
- Current symptoms (e.g., pain, tension, fatigue)
- Goals for therapy (relaxation, recovery, detox, etc.)
- Lifestyle, stress levels, and other relevant factors
This step helps customize the treatment for your specific needs. For example, someone with chronic shoulder tension will receive different placement and suction strength than someone seeking digestion support.
2. Positioning and Preparation
You’ll be asked to lie on a massage table—typically face-down for back cupping or face-up for abdominal or leg cupping. Your skin will be cleaned with alcohol or a mild antiseptic to ensure hygiene.
If moving cupping is planned, a lubricant such as massage oil will be applied to allow the cups to glide smoothly across the skin.
3. Selection of Cups and Suction Method
Cups come in different materials, including:
- Glass (often used in fire cupping)
- Silicone (softer and flexible)
- Plastic (common with pump systems)
- Bamboo (traditional Chinese method)
Suction is created in two main ways:
- Manual suction using a rubber pump
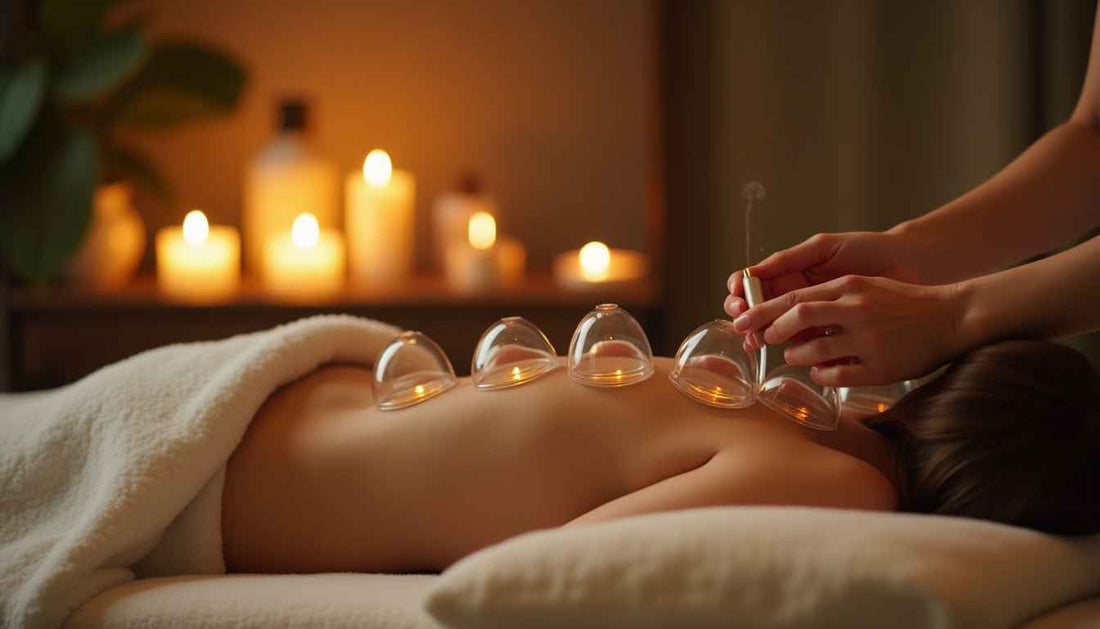
- Fire suction using a quick flame to burn oxygen in the cup before placing it on the skin
Don’t worry—you’re not being burned. The flame never touches you; it only creates the vacuum effect.
4. Application of Cups
Once the cups are prepared, they’re placed on the targeted areas, often:
- Along the spine
- Across the shoulders and traps
- On the lower back, thighs, or calves
- On the stomach (for digestive concerns)
- On specific acupuncture meridians
The sensation is often described as a gentle, pulling pressure. It should feel tight but not painful.
5. Duration of the Session
Cups are usually left in place for 5–20 minutes, depending on:
- Your health goals
- The area being treated
- Your body’s response to suction
In moving cupping, the therapist will glide the cups along muscles, helping to release fascial restrictions.
6. Removal of Cups
When the time is up, the practitioner will gently release the suction by lifting one edge of each cup. This process is painless, and often followed by:
- A gentle massage
- Wiping of any oil
- Application of cooling or calming lotion if needed
7. Post-Treatment Evaluation and Advice
After the session, you’ll have time to ask questions and share how you feel. Your therapist may offer tips such as:
- Drinking plenty of water to flush toxins
- Resting the body for the day
- Avoiding extreme temperatures or heavy workouts for 24 hours
They might also discuss a treatment plan if multiple sessions are recommended.
Aftercare: What to Expect Post-Cupping
Physical Effects
- Circular Marks: These are not bruises, but blood and toxins drawn to the surface. They typically fade in 3–7 days.
- Fatigue: Some people feel sleepy or heavy after cupping—this is normal and passes quickly.
- Relief: Many feel immediate loosening of tight muscles, mental calm, or a lift in energy.
Do’s and Don’ts After a Session
DO:
- Drink warm water or herbal tea
- Rest and allow the body to heal
- Keep cupped areas covered from cold or wind
DON’T:
- Take cold showers immediately after
- Expose cupped skin to sun
- Engage in intense workouts on the same day
Who Can Benefit from Cupping Therapy?
The cupping process can help with:
- Muscle tension and stiffness
- Chronic pain (back, shoulders, neck)
- Stress and anxiety
- Digestive issues
- Fatigue
- Detoxification
- Athletic recovery
- Hormonal balance
Who Should Avoid Cupping?
While safe for most, cupping may not be suitable for:
- Pregnant women (especially abdomen and lower back)
- People with bleeding disorders
- Those on blood thinners
- Individuals with skin infections, ulcers, or burns
Types of Cupping You May Experience
While dry cupping is most common, your therapist may introduce other forms:
- Wet cupping (Hijama): Includes tiny incisions to draw out stagnated blood. Often used in Middle Eastern or Islamic healing.
- Fire cupping: Traditional and more dramatic—uses flame for suction.
- Facial cupping: Uses smaller silicone cups for lymphatic drainage and beauty benefits.
- Massage cupping (moving): Cups are glided over oiled skin to relieve fascia and muscle knots.
FAQs (People Also Ask)
What happens during a cupping therapy session?
Cups are applied to your skin using suction to increase circulation, reduce tension, and promote healing. You’ll lie down for 10–20 minutes, then the cups are removed.
Is cupping therapy painful?
It shouldn’t be painful. Most people describe it as tightness or pressure, and many find it deeply relaxing.
How do I prepare for my first cupping session?
Eat a light meal 1–2 hours before, hydrate, and wear loose clothing. Avoid alcohol or caffeine on the day of treatment.
How long do cupping results last?
Results vary. Some people feel immediate relief for days, while chronic issues may require 3–6 sessions for lasting effects.
What is the cupping therapy process?
The cupping therapy process involves applying suction cups to the skin to increase circulation, release muscle tension, and promote healing. It includes consultation, cup placement, a 10–20 minute treatment, and aftercare recommendations.
Final Thoughts
Cupping therapy may look unusual, but the process is simple, soothing, and supported by thousands of years of practice. Whether you're trying it for the first time or looking to deepen your understanding, knowing what to expect helps you get the most from every session.
Call to Action (CTA):
Want to feel confident before your first cupping session? Download our free checklist: “Everything You Need Before, During, and After Cupping” to get the most from your healing journey.